Exceptional renders and visualizations are not just pleasant to the eyes, they also reveal your level of proficiency; presentations are more impressive and you get to be comfortable with showcasing your work.
Although, with Design and Architecture, creativity is not limited to the rules by the book, there are a few areas that when focused on, will help you create exceptional visualizations and this is what we intend to reveal.
01. USE High-Quality Components
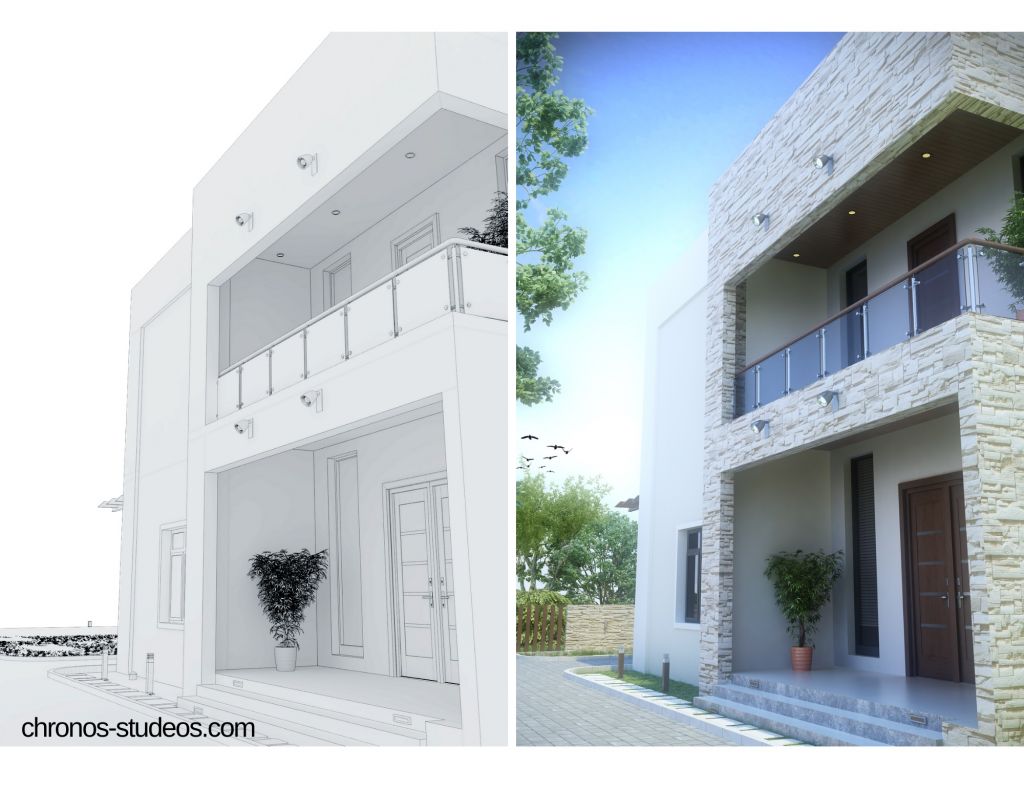
Ensure that the components used to populate your scenes are well detailed, this will help you achieve a more realistic render. Pay attention to details such as geometry from your modeling stage, texture size and quality from your material library, component details of the entourage (people, plants, light fittings etc), and other visual attributes of each component. A clean model free of intersecting faces, populated with denser mesh objects tends to render better because they respond to lights and shadows better with little or no noise and artifacts.
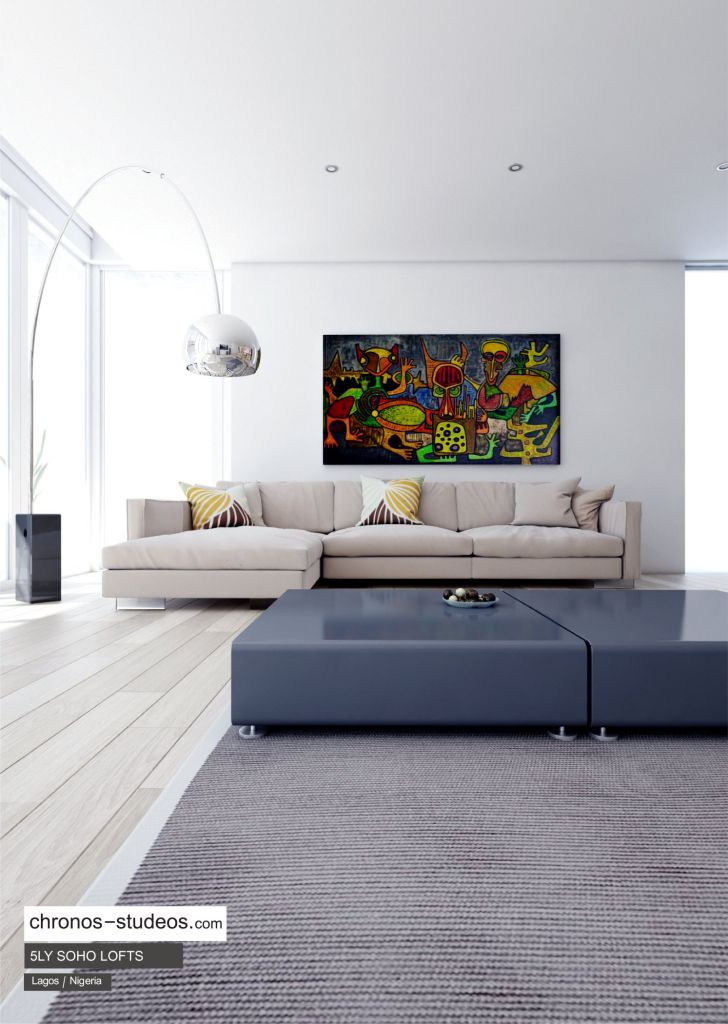
02. Rely on Material Accuracy
Visualization is a representation of what is intended to be created in real life. Therefore the materials used should reflect close realistic features. This can be achieved by creating materials that exhibit the same behaviour as they would in real life. Take a cue from reflections and glossiness of materials under various lighting situations to understand how materials should appear. Look through photographed images of materials you intend to create, observe their interaction with the environment and properties like the level of reflection and refraction, glossiness, colour depth, position, and so on; infuse the discoveries into your work.
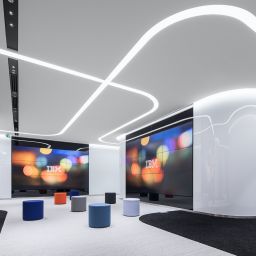
03. USE Lighting TO ACCENTUATE
Use lighting to your advantage. Proper lighting makes the difference between normal and exceptional visualizations as they can accentuate features or even materials. This is why illumination should go beyond adding lights to the scenes but making them as natural as possible. Focus on details like size, intensity, warmth, position, direction, and the overall story the lights will tell.
Although light settings are tricky and require a lot of space due to the weight of the process, misrepresenting its effects in visualizations will decrease the visual appeal of your render. It is advisable to test the lighting fixtures and properties as you carry out your process. This will prove to be a worthy price when you see the outcome.
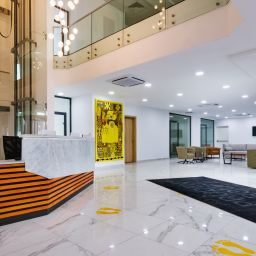
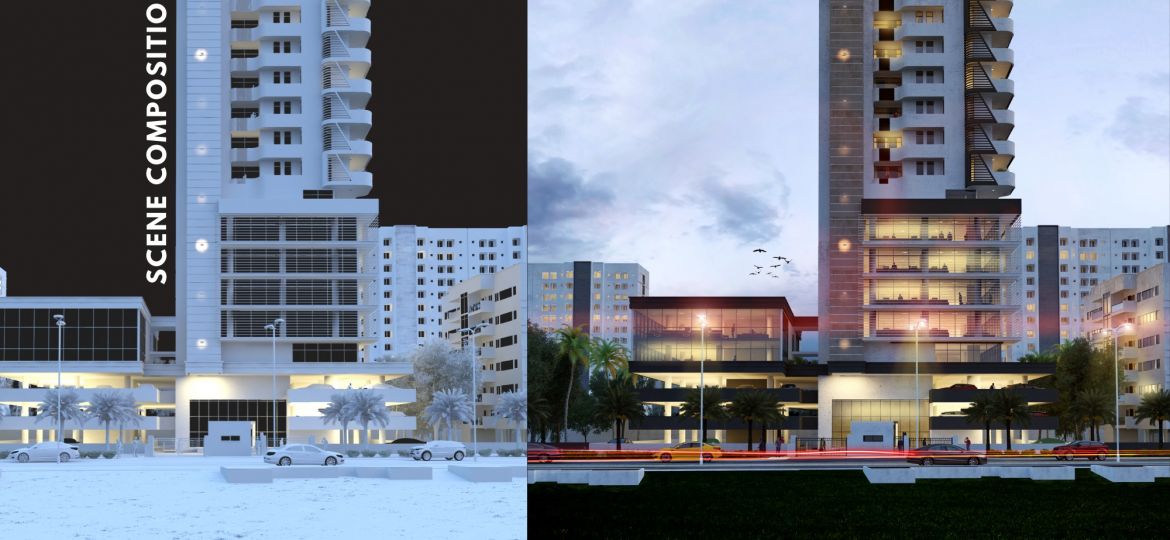
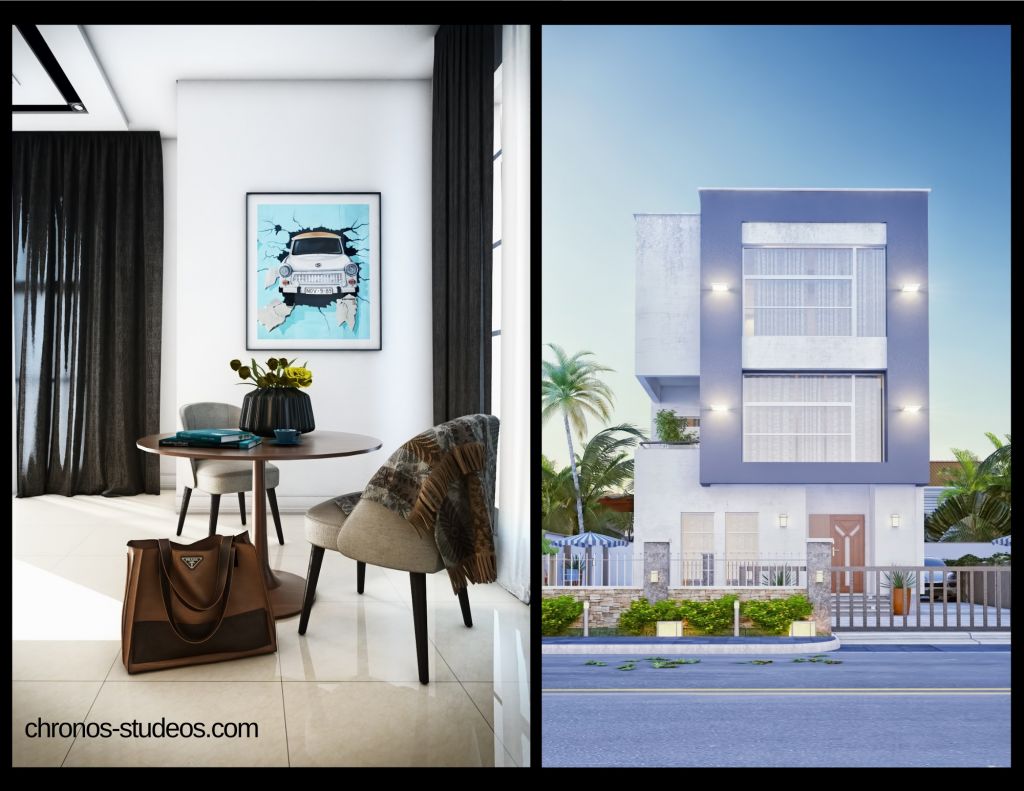
04. Capture in Sections TO TELL A STORY
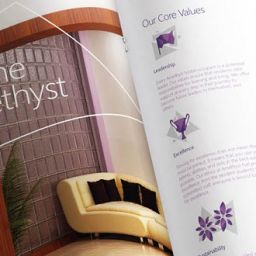
Taking wide-angle shots could ruin the composition of your render and not produce the desired effect. The aim is to create captures that will reflect the beauty and details of your work. Therefore, it is better to capture specific areas of the scene instead of taking them all in a single shot. Sometimes, it is better to focus on the objects that tell the story and avoid distracting the viewer from other objects that do not complement the image.
![]()
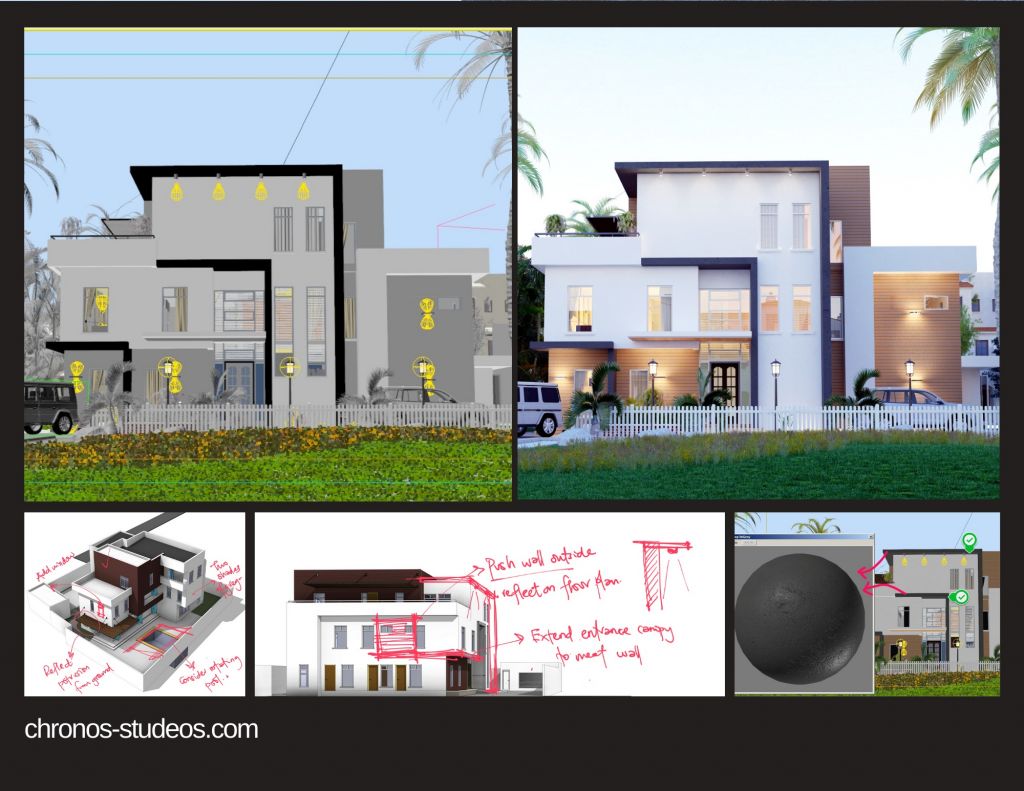
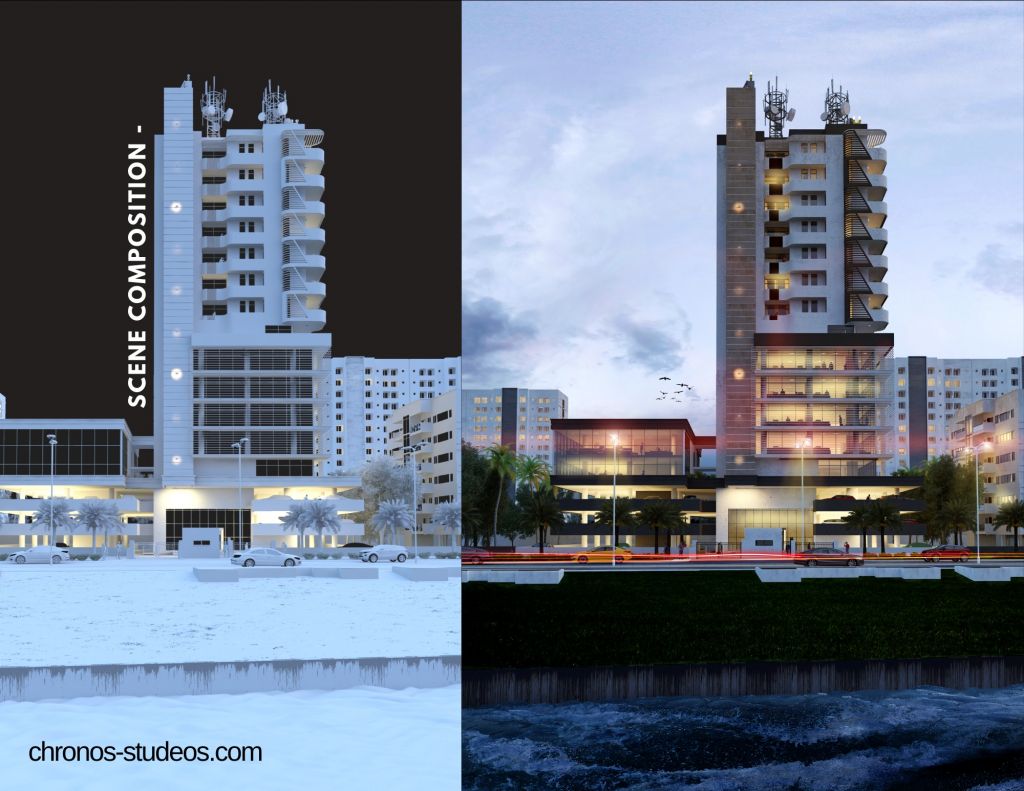
 05. Embrace Sketches
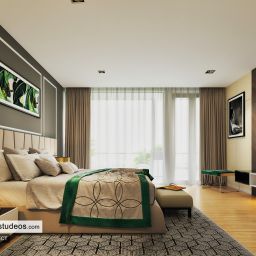
Your initial sketch is what defines your path and gives you insight into what you are creating. Therefore it should not be ignored during the process. Take time out to review your sketch because this will help you remember details you are likely to forget and direct the flow of your design towards what was originally intended. Sketches reduce the number of iterations one would typically do especially when choosing camera views. Sketches help you focus on what matters during scene composition.
![]()
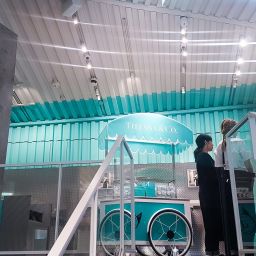
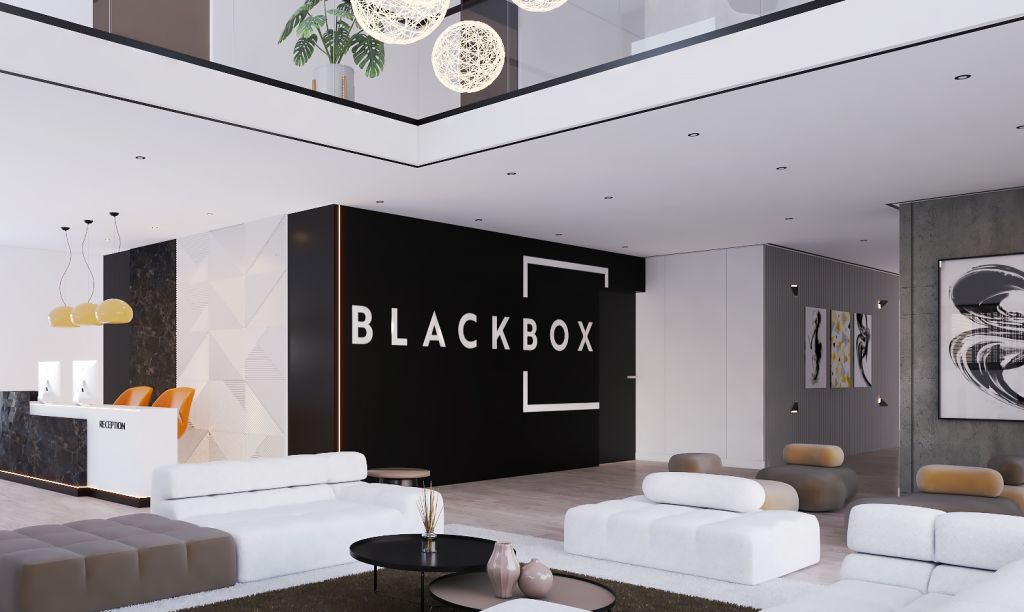
 06. Don’t Neglect the Brief
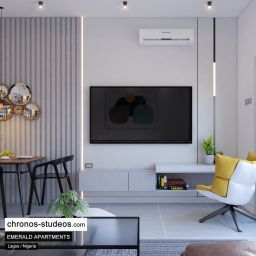
This is where you get to listen to your client and know what they really want – a vital stage for your delivery process. Knowing what they want is knowing what to give. Ensure that you get clarity in this regard. Who knows, they might have brilliant ideas that could ignite your creative genius. Some client requests could focus on lighting and openings on interiors. Some could be particular about decor placement. Merging your skills and the client’s requests is one sure formula to succeeding and hitting the mark of satisfaction.
![]()
 BONUS TIP – Invest in time
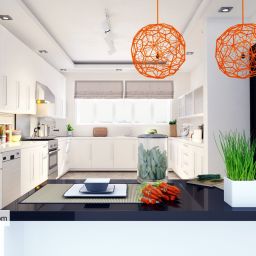
The more time you spend on your visualization project, the more details you can cover. Post-production is also helpful in setting the final mood for your images. You do not have to spend 10 straight hours if that isn’t your style, break it down if it works better for you, but ensure that you give the process the amount of time an exceptional work deserves. Also, take out enough time to search for components and materials that will make your work stand out.
Remember to check out more tutorials below. From time to time, we showcase how we realize our projects. Our Company Culture helps us share our projects and workflow as inspiration for anyone and everyone. Here, you can see the faces behind the works too.
Please go on and we hope you learn a few things too.
Architectural visualization involves producing visual representations of architectural designs and concepts with computer-generated graphics. Sketches and drawings are the foundation…
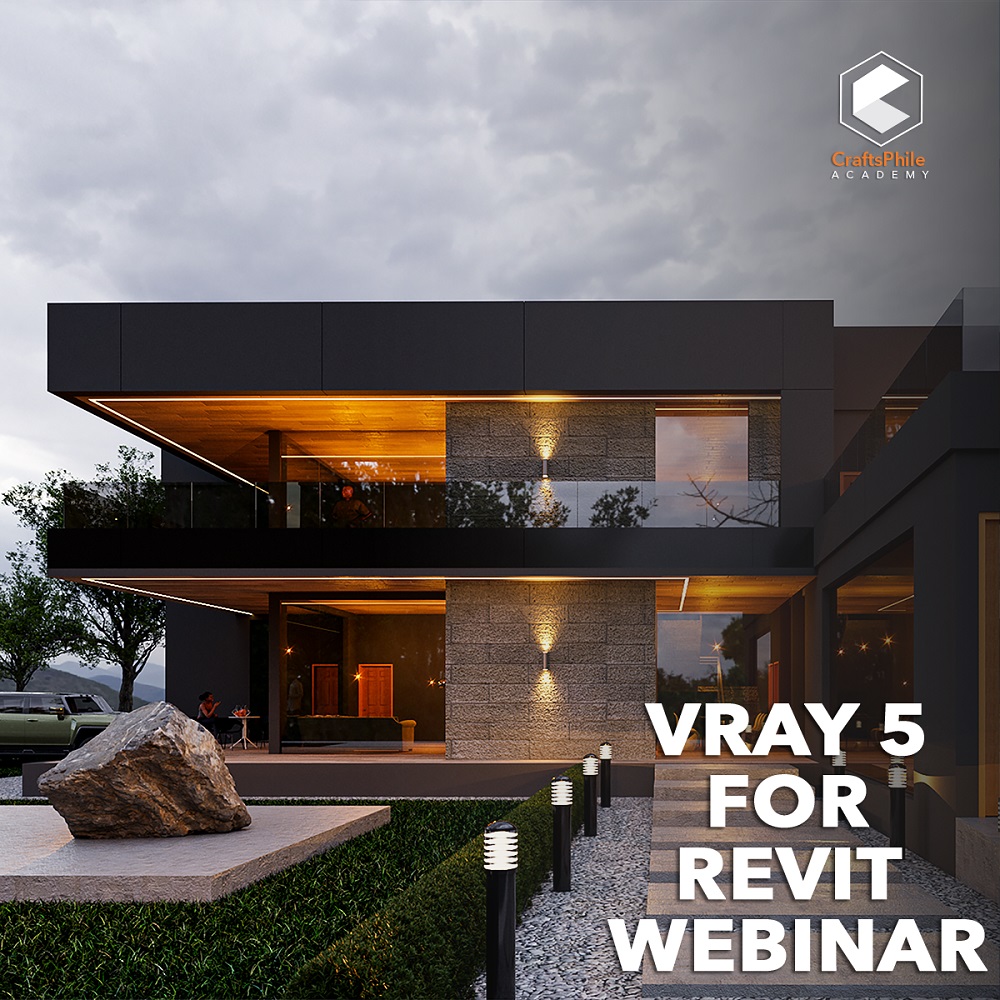
V-Ray® 5 for Revit features powerful capabilities for creating visually optimized projects. The new update allows you to easily modify…

We will show you the details of how the Dynamo Programming Process was implemented by Hassan Anifowose, having previously revealed how parametric modelling